Team
The Team page lists everyone who can sign in to your business. Owners invite people by email, give each one a role and remove them when they leave.
The screenshots show a demo business with made-up bookings and chats.
1. Know the roles
Owners can do everything, including the team and the plan. Staff keep the profile, schedule and website up to date and answer chats. People clients book can look but not change things, and see their own appointments and numbers.
2. Turn on two-factor authentication first
Owners need two-factor authentication to invite or remove people. Until it is on, the page shows Set up two-factor authentication in place of the invite form.
3. Invite someone
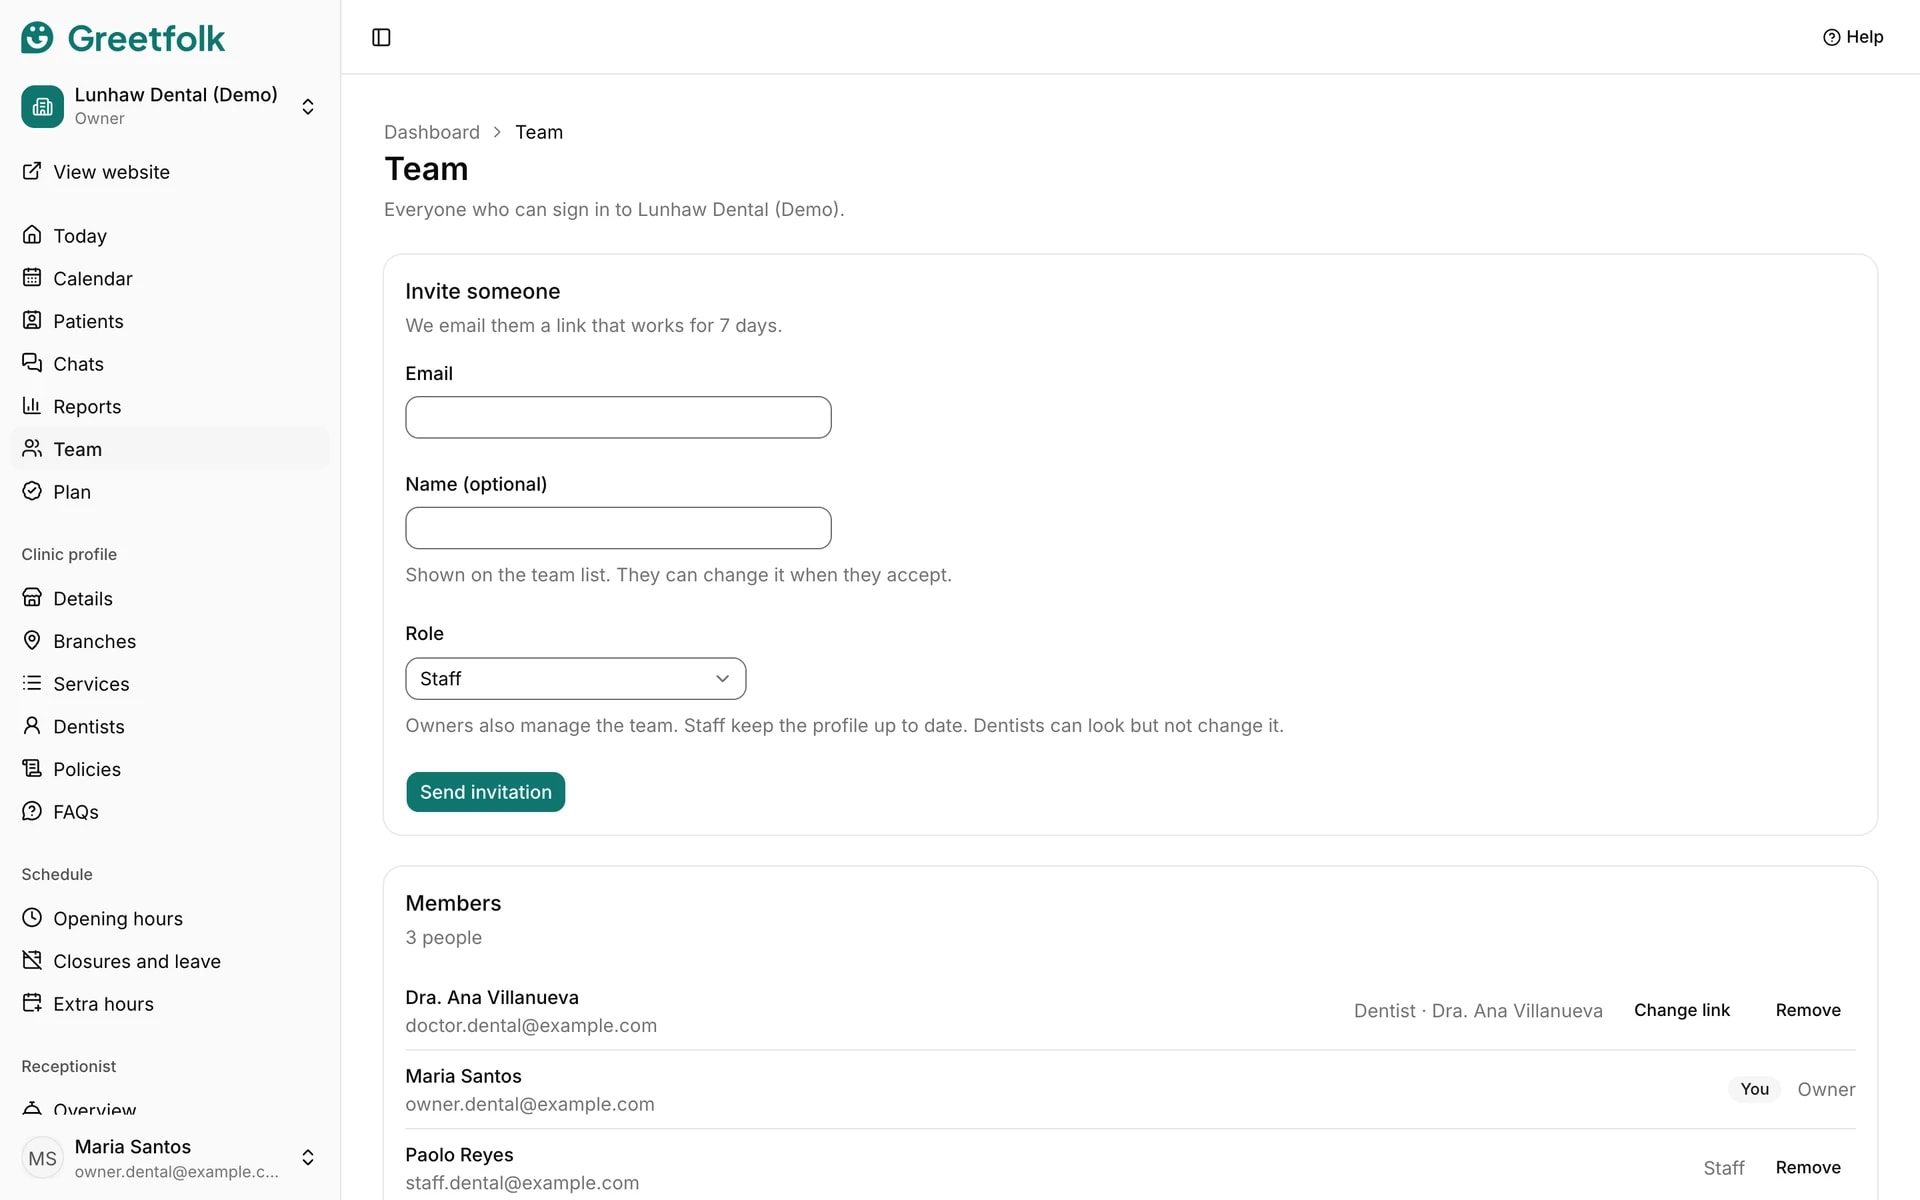
Under Invite someone, type their email, add their name if you like, pick the role and click Send invitation. For someone clients book, also choose which profile their sign-in belongs to. You may be asked for a code from your authenticator app.
4. Follow the invitation
The invitation waits under Invitations until it is accepted. The person gets an email with a link, accepts, and signs in with an emailed code. Cancel invitation stops the link. Email bounced means we can't send to that address, so check it for a typo.
5. Link a sign-in to a profile
Under Members, Change link sets which bookable profile a person's sign-in belongs to. Once linked, Today and Reports show them their own appointments.
6. Remove someone
Under Members, click Remove and confirm. They lose access to this dashboard right away.