Publish
A new website starts as a private draft that only people with the preview link can see. The Publish page shows what is still needed and makes the website public.
The screenshots show a demo business with made-up bookings and chats.
1. Open the Publish page
Open Publish under Website in the dashboard. While the website is a draft, the page says Your website is a private draft and Today shows a notice that leads here.
2. Look at your preview
Open your preview shows the draft with every feature turned on; once published, the website shows what your plan includes. You can send that link to someone else to check it. Bookings made in the preview are tests and are removed when you publish.
3. Work through the checklist
The list covers branches and opening hours, services and prices, confirmed prices, your plan, the people clients book, the cover photo, the logo and the contact email. Each line is marked Done, Needed to publish or Optional, and Add or Review opens the page where you fix it.
4. Turn on two-factor authentication
Only the owner can publish, and the owner needs two-factor authentication turned on. Without it the page shows Set up two-factor authentication in place of the publish button.
5. Publish
When nothing is marked Needed to publish, click Publish website, then Publish. You may be asked for a code from your authenticator app. Anyone can then find and visit the website, and it may take a minute to appear everywhere.
6. Share your address
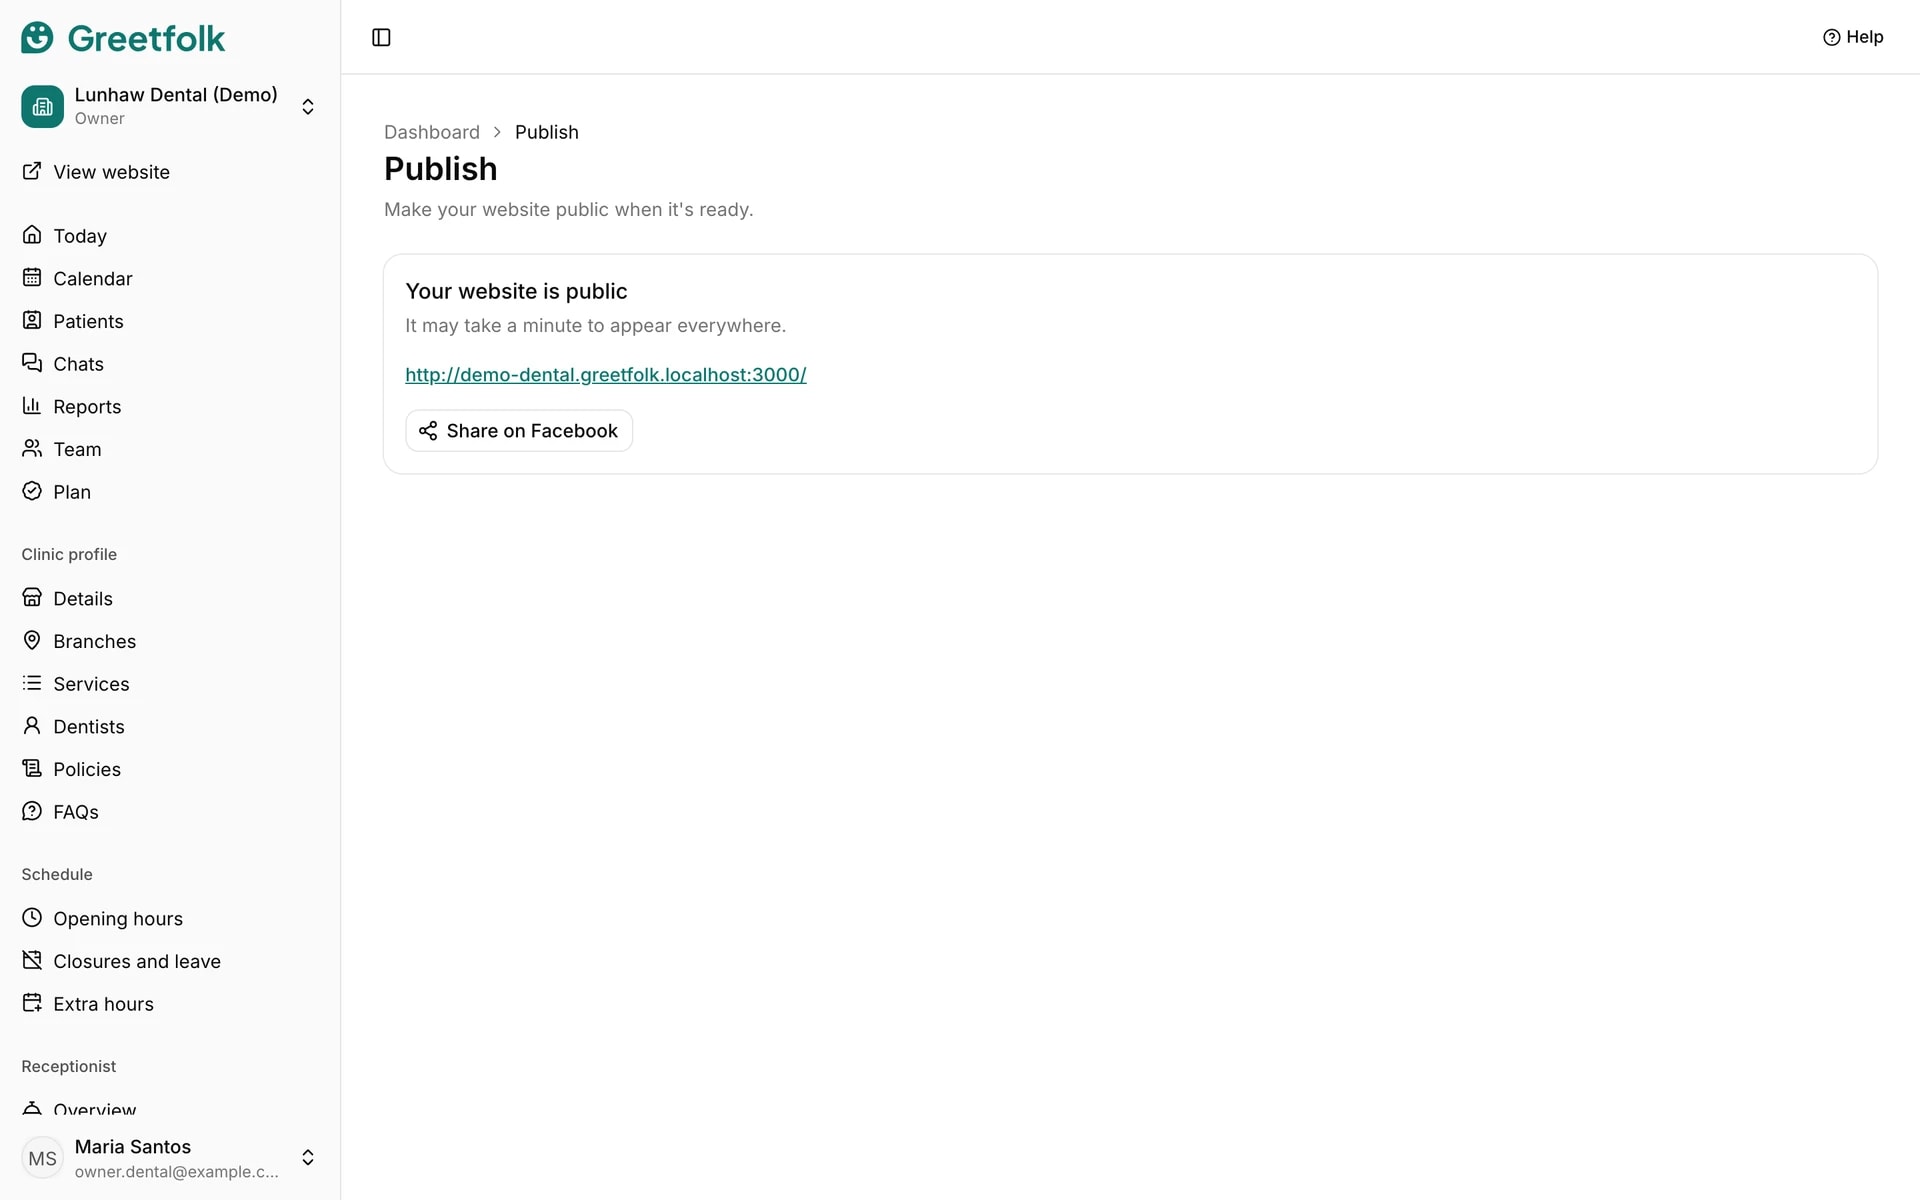
The page now says Your website is public and shows the address. Share on Facebook posts it to your Page or profile. From now on, changes you save in the dashboard show on the live website, except home page changes, which wait on the Home page until you publish them there.