Photos
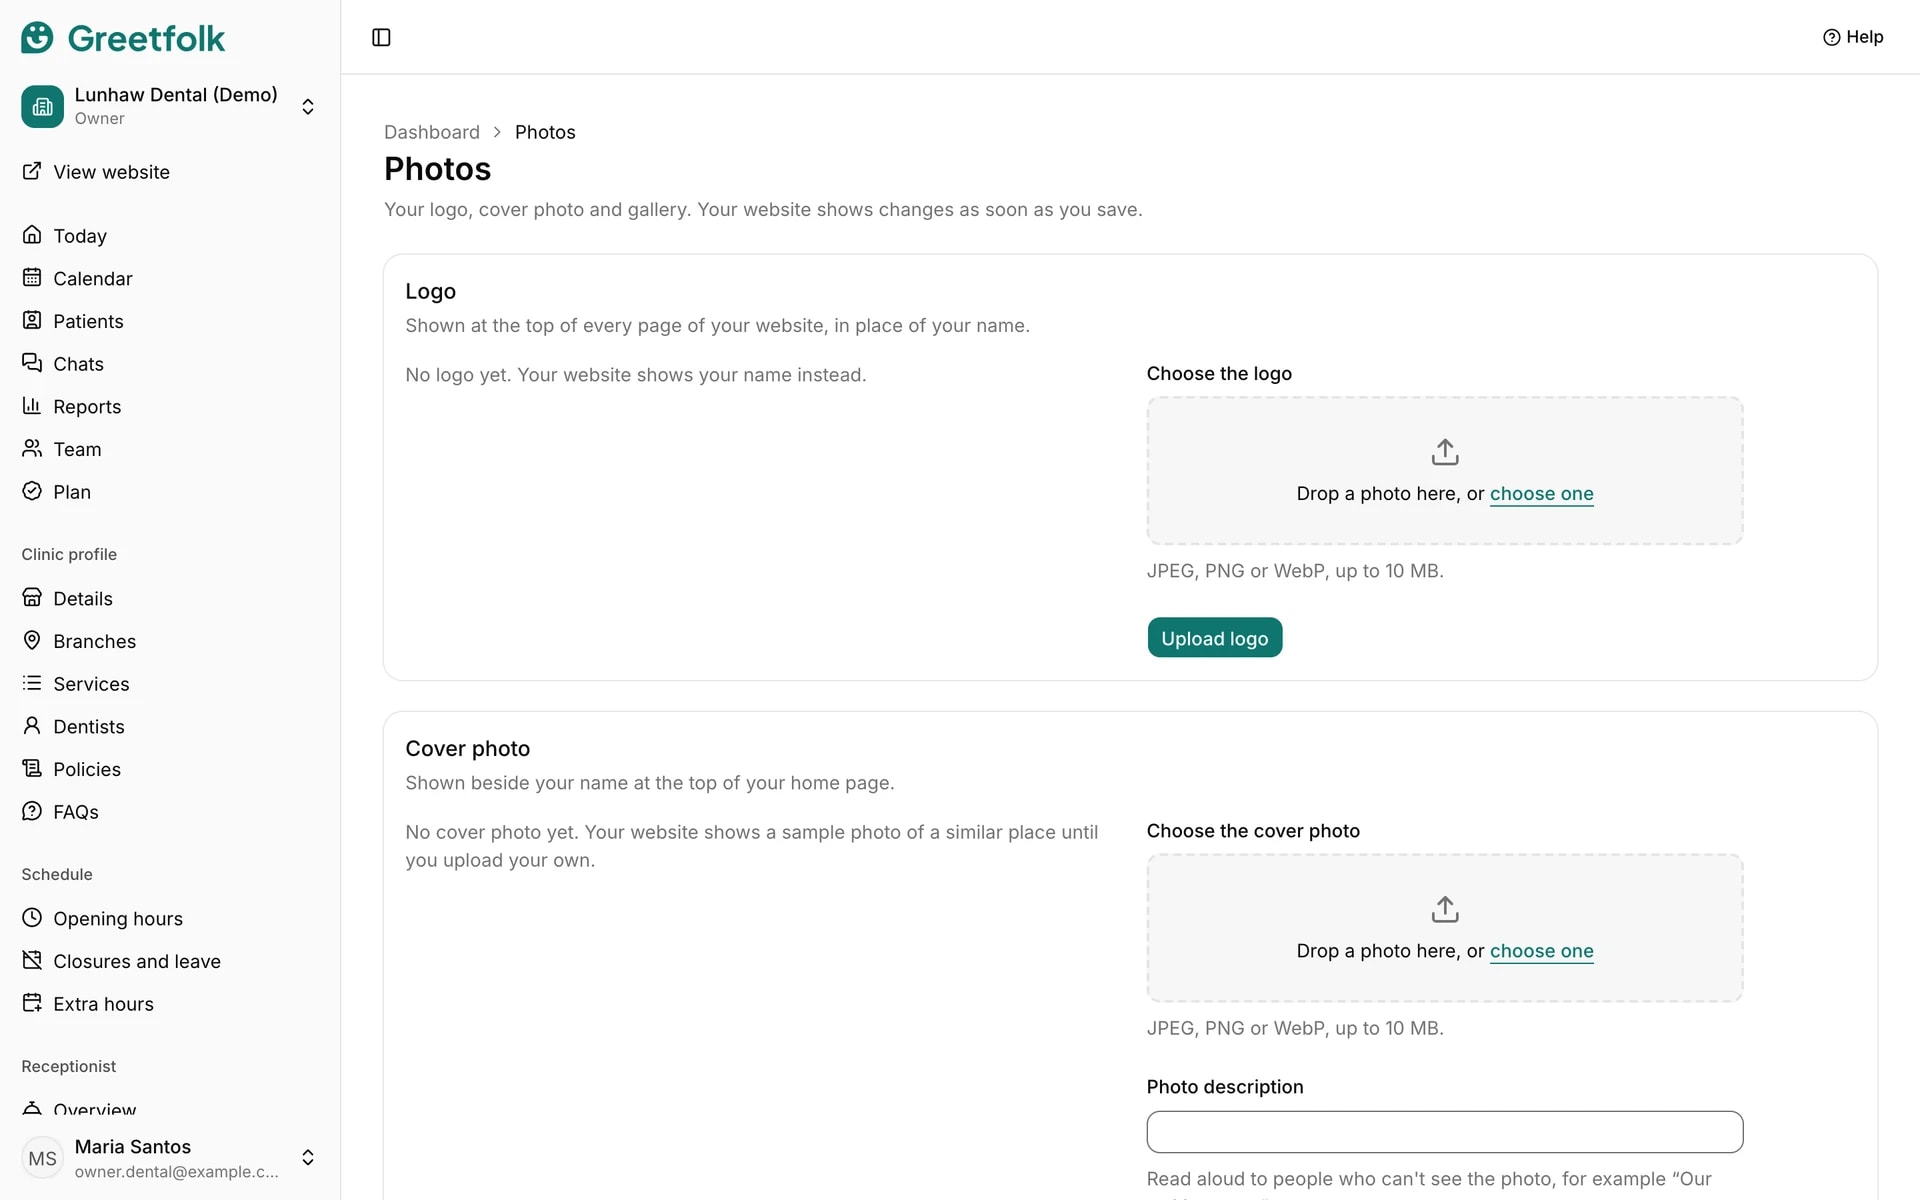
Photos holds your logo, your cover photo and your gallery. Your website shows changes as soon as you save.
The screenshots show a demo business with made-up bookings and chats.
1. Upload your logo
Open Photos under Website and add your logo. It shows at the top of every page of your website, in place of your name. Without one, the website shows your name.
2. Add a cover photo
The cover photo shows at the top of your home page. Until you upload your own, your website shows a sample photo of a similar place.
3. Fill the gallery
Add up to 24 gallery photos, each up to 10 MB, as JPEG, PNG or WebP. Click the drop zone or drop a file on it. A wrong type or size is refused at once.
4. Describe each photo
Describe this photo is read aloud to people who can't see it, and search engines read it too. A short, plain description is enough.
5. Remove a photo
Removing a photo takes it off your website right away. If a gallery photo is someone's team photo, the page says whose before you remove it.