Branches
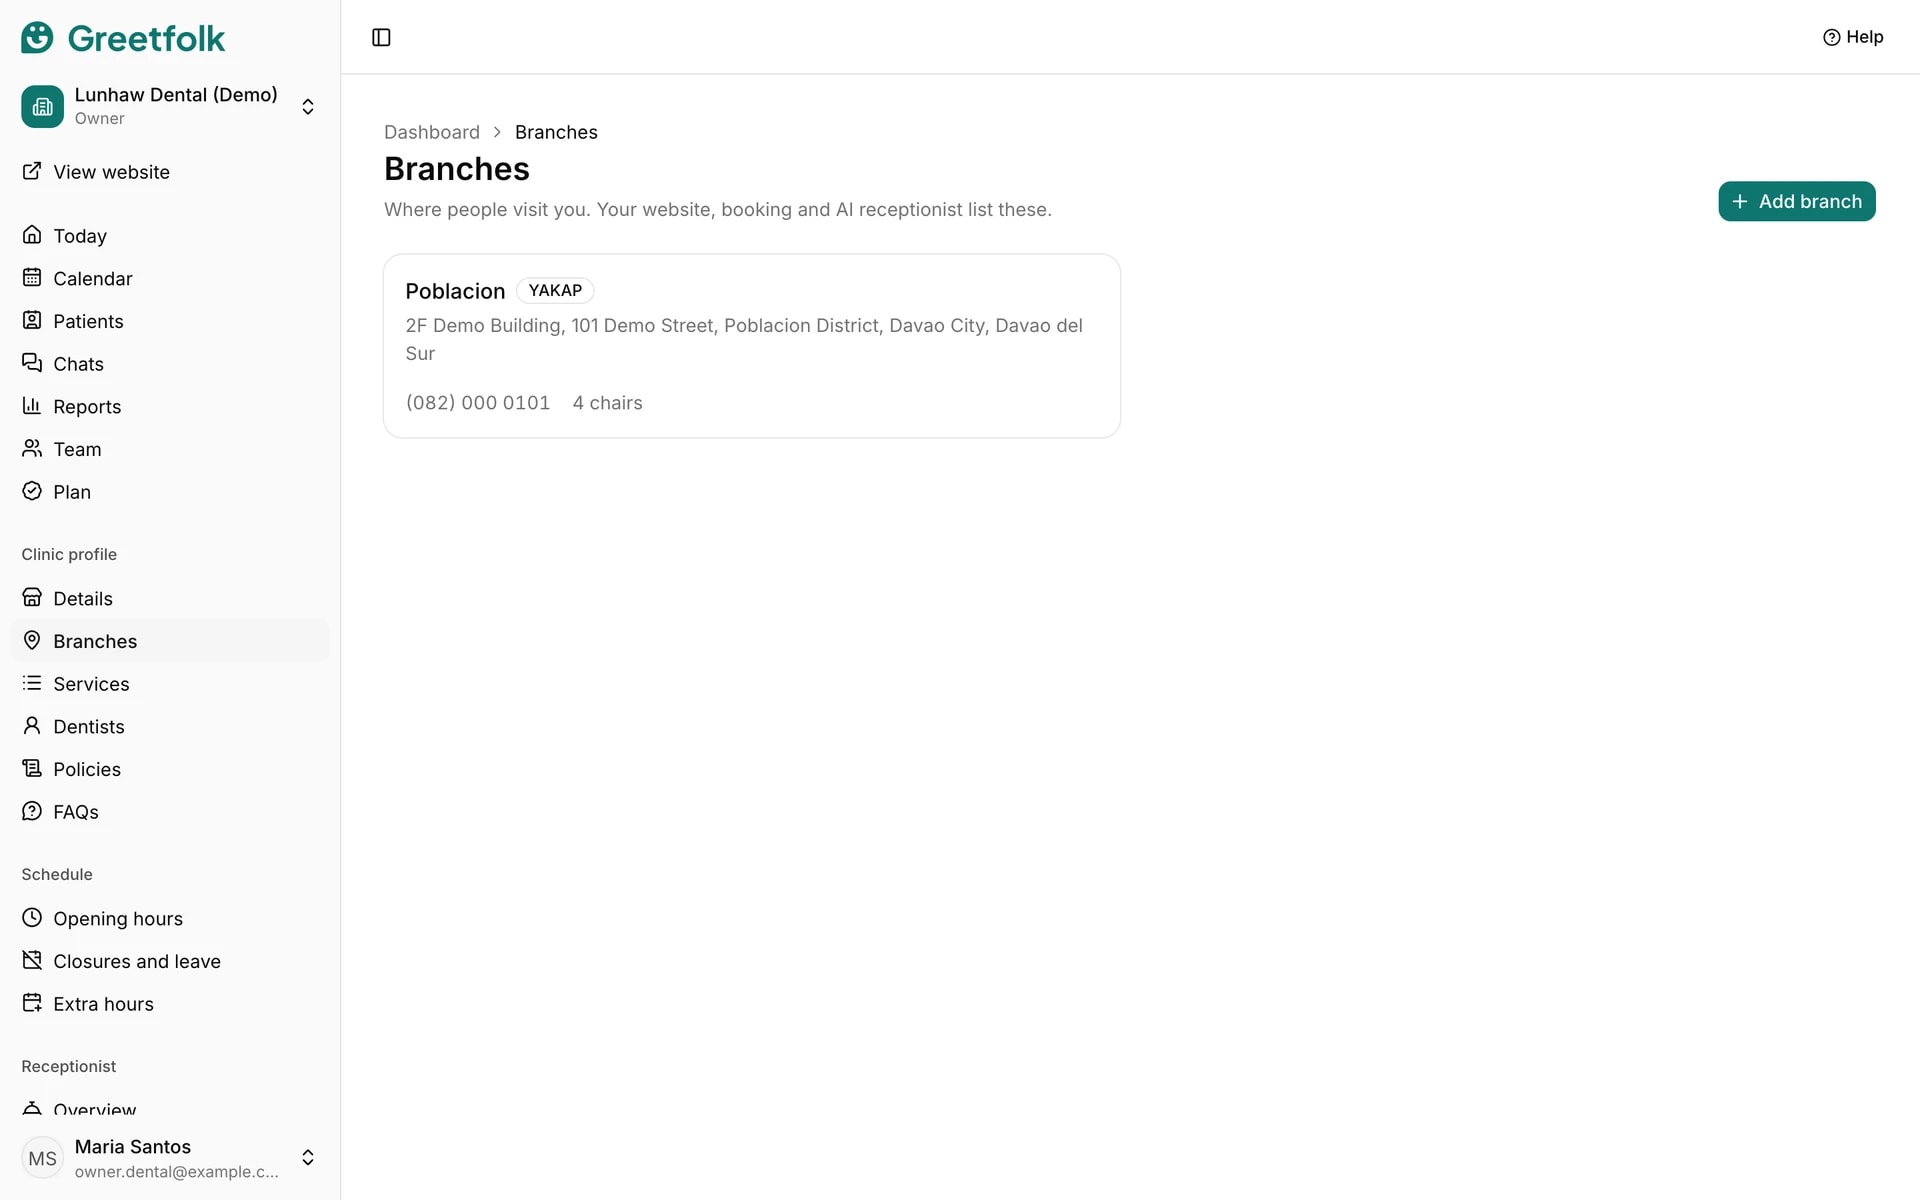
A branch is one place where people visit you. Your website, online booking and AI receptionist list your branches, and every appointment belongs to one.
The screenshots show a demo business with made-up bookings and chats.
1. Add a branch
Open Branches and click Add branch. Enter the branch name, the street address, the city and the phone, then click Save branch. Your plan sets how many branches the website shows, and extra ones are marked Paused.
2. Put it on the map
Map pin takes the two numbers Google Maps copies: right-click your entrance in Google Maps, click the numbers at the top of the menu, and paste them. Google Maps link takes the Share link of your business there, so visitors find your reviews. Both are optional.
3. Check a pin we suggested
If the page asks Is this map pin right?, open it in Google Maps. Click Looks right if it is, or paste the right numbers into Map pin and save.
4. Take bookings as phone calls
Tick Appointments are phone calls for a branch people don't visit. Your website then shows no map, and booking emails say you'll call the person's mobile instead of giving the address.
5. Add rooms or stations
Further down the branch page, add the rooms or stations appointments use. The Calendar can show them as columns, and Greetfolk warns before one is double-booked.
6. Set its opening hours
Opening hours on the branch page opens that branch's week. Online booking only offers times inside it.
7. Close or delete a branch
Untick Open for bookings to take a branch off booking straight away and keep its records. Delete branch asks first, and deletes its opening hours, rooms, closures and extra hours with it.